
PhotoDirectorで背景除去する方法を教えてください。
このような声にお応えして参考となる記事をご用意しました。
こちらの記事ではCyberLink(サイバーリンク)の画像編集ソフト「PhotoDirector」で背景を除去する方法について解説します。
記事の内容を見ていただくだけで素敵な画像が完成しますよ。
私は動画編集歴15年以上。
画像作成のためにPhotoDirectorを愛用しています。
CyberLinkのPhotoDirectorは初心者に優しいソフトなので背景除去も簡単です。
しかし、分かりにくい部分もあるのでぜひ参考にしてくださいね。
PhotoDirectorのバージョンによっては操作画面やボタンの位置が異なる場合もありますので、あらかじめご了承ください。
この記事で分かること
- CyberLinkPhotoDirectorで背景を除去する方法
- PhotoDirectorで背景を白色や透明にする方法
- スマホ版PhotoDirectorで背景を除去する方法など
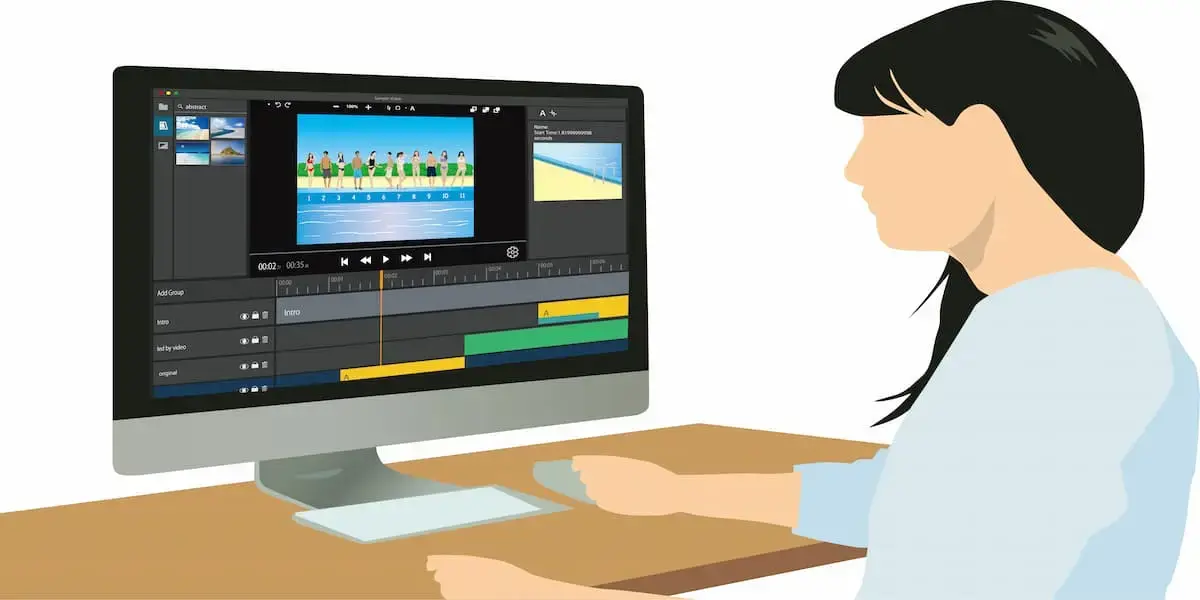
⇩YouTubeサムネイルの作り方を例にPhotoDirectorの使い方を解説しています。

1,000人中983人の方に「公式サイトより分かりやすい」と高評価をいただいています。
ぜひご活用ください。
PhotoDirectorで背景除去(透明化)する方法4ステップ

PhotoDirectorで背景除去する方法は以下の通りです。
以下で順番に解説します。
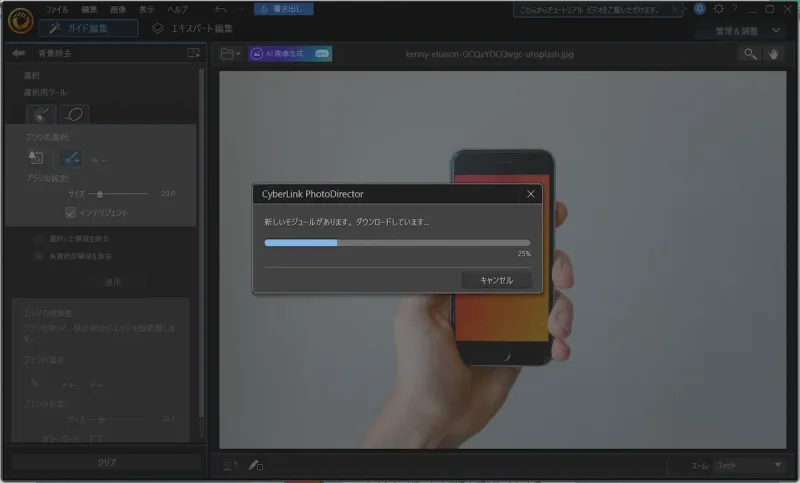
①背景除去を選択
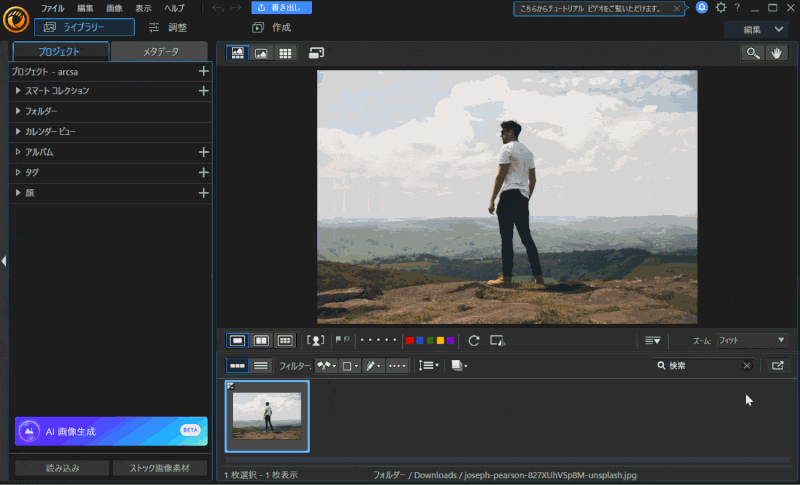
画像を読み込んだら「背景除去」を選択します。

- ガイド編集
- 補正&除去
- 背景除去
の順に選択。
自動的に画像の解析が始まります。
今回はスマホと手だけ残して背景を透明にします。
初回だけAIの設定に時間がかかることがあります。
編集画面になっていない場合。
⇧編集項目が無い場合は右上の「ガイド編集」を選択します。
PhotoDirectorのバージョンによって画面が異なる場合があります。
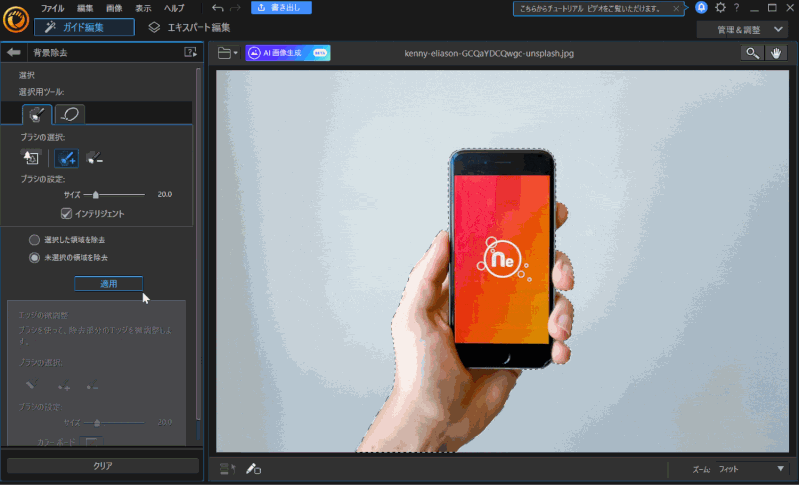
②除去したい領域を選択
除去したい範囲を決めます。
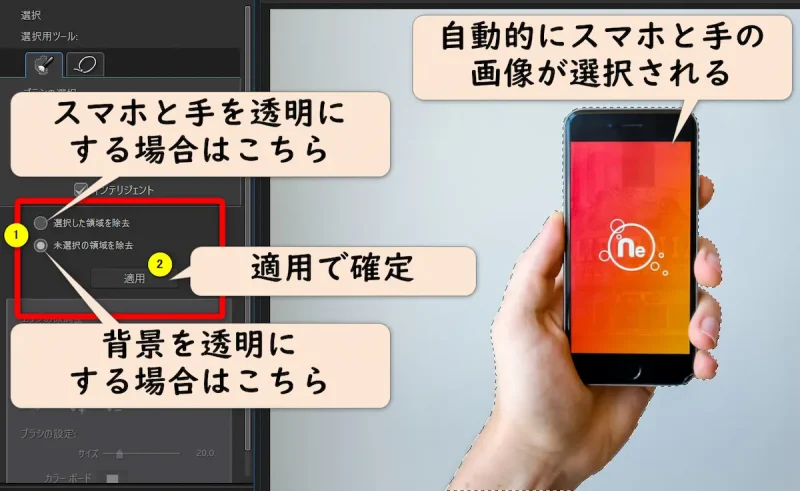
⇧どちらの領域を透明にするか決めます。
今回は背景を透明にするので「未選択の領域を除去」を選びます。
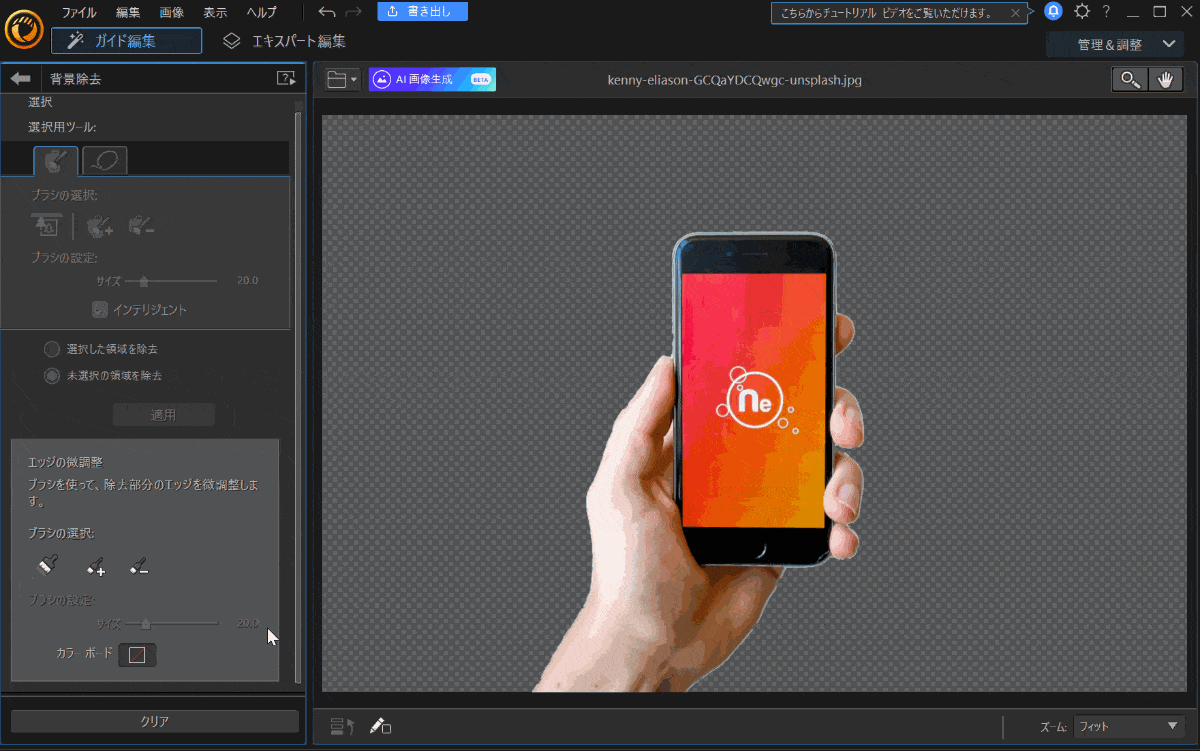
透明になったのを確認する。
⇧上記のように透明になればOKです。
画像を書き出ししましょう。
③背景を白色にする方法
背景を透明にした後で色を変更することができます。
- カラーボードを選択
- 白色を選択
白以外にも自由に変えることができます。
④背景除去した画像を保存する
背景除去した画像を保存したい場合は「書き出し」を使います。
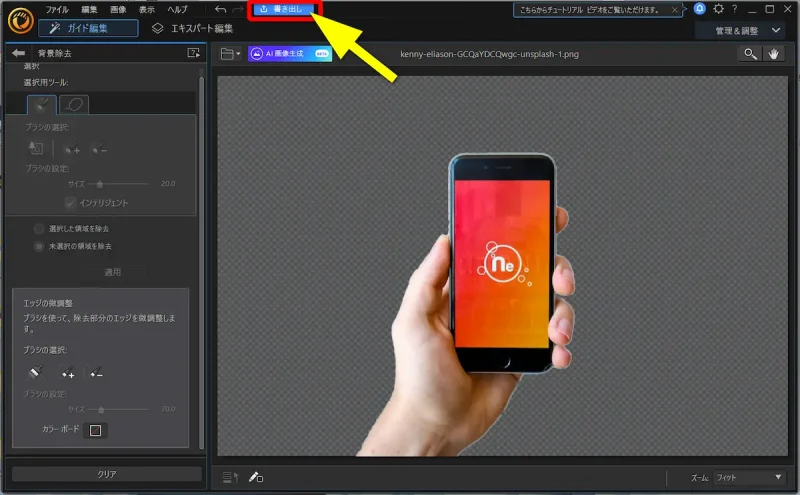
⇧「ファイル」→「名前を付けて保存」でも書き出しできます。
PNGファイルで保存されます。
編集途中の内容を保存したいとき。
- 右上の「ライブラリー」を選択
- 「ファイル」→「プロジェクトの書き出し」を選ぶ
- 名前や保存場所を指定して保存
保存したファイルを開けば編集途中から再開できます。
PhotoDirectorの背景削除に関するQ&A

PhotoDirectorの背景除去に関してよくある質問と解決法は以下の通りです。
以下で順番に解説します。
①PhotoDirectorで人や不要なものを消すには?
PhotoDirectorで人や不要なものを消す場合は背景除去ではなく「オブジェクト除去」を使いましょう。
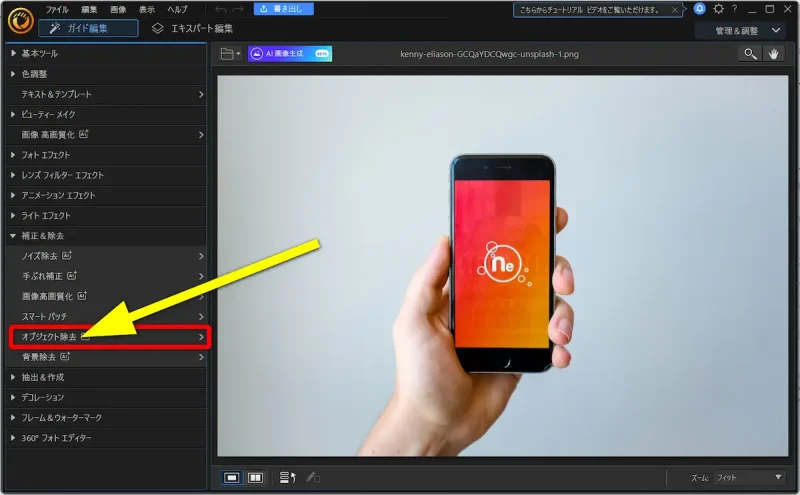
⇧オブジェクト除去を使えば人や不要なものを消すことができる。
⇩PhotoDirectorで人を消す方法は以下の記事で詳しく解説していますのでご覧下さい。
PhotoDirectorで人を消す使い方3ステップ【不要な部分・文字消し方法】
②PhotoDirectorで背景除去する機能は有料ですか?
今回紹介した機能は無料体験版でも使えます。
機能は体験できますが、無料版は30日間の期限があるので永久には使えません。
有料版を購入することで本格的に使えるようになります。
無料体験版は動作確認のためのソフトです。
⇩PhotoDirectorの無料版と有料版の違いは以下の記事で詳しく解説していますのでご覧下さい。
【納得!】PhotoDirectorの無料版と有料版の違い10選を解説
③スマホ版PhotoDirectorで背景を除去するには?(iphone・Android)
スマホ版PhotoDirectorでも背景除去が可能です。
無料版でも書き出しが可能です。
スマホ版PhotoDirectorで画像を読み込んだら「背景の除去」を選ぶだけで自動的に背景が透明化されます。
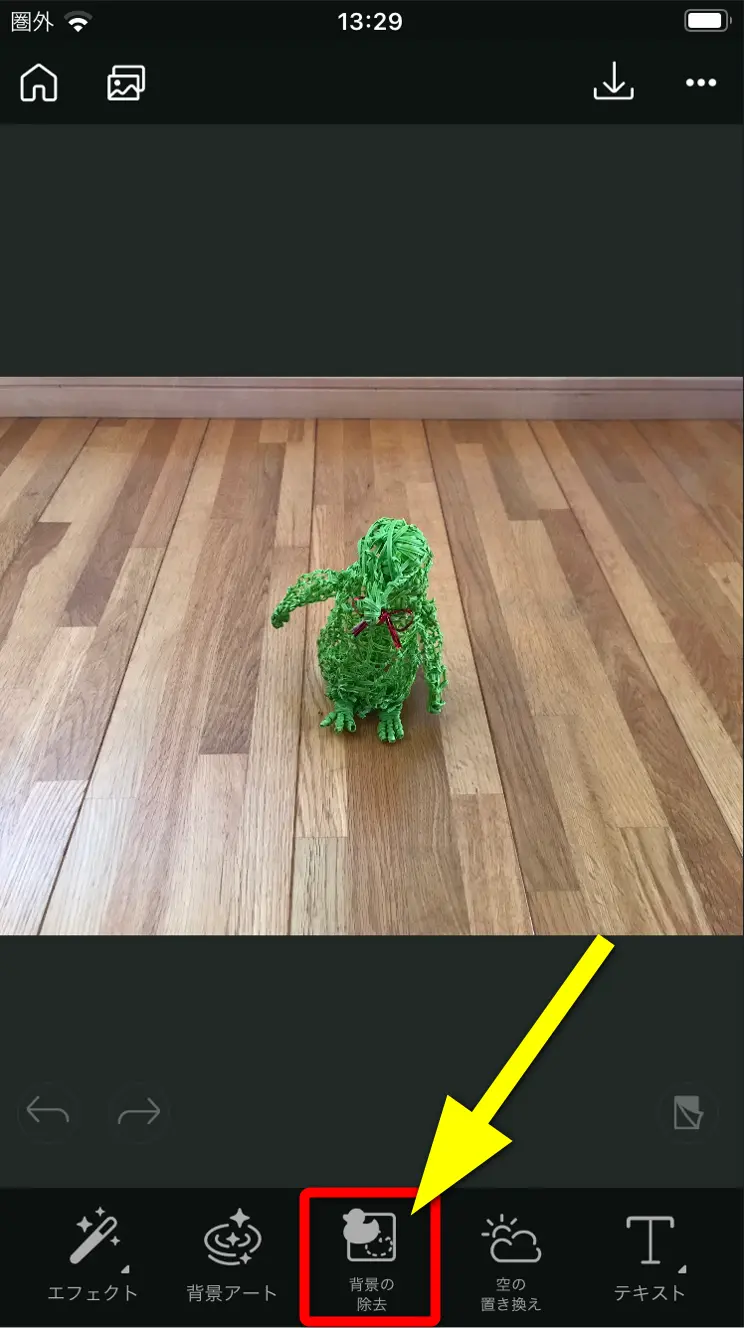
⇧「背景の除去」を選択。
自動的に背景が透明化されます。(手動で調整することも可能です。)
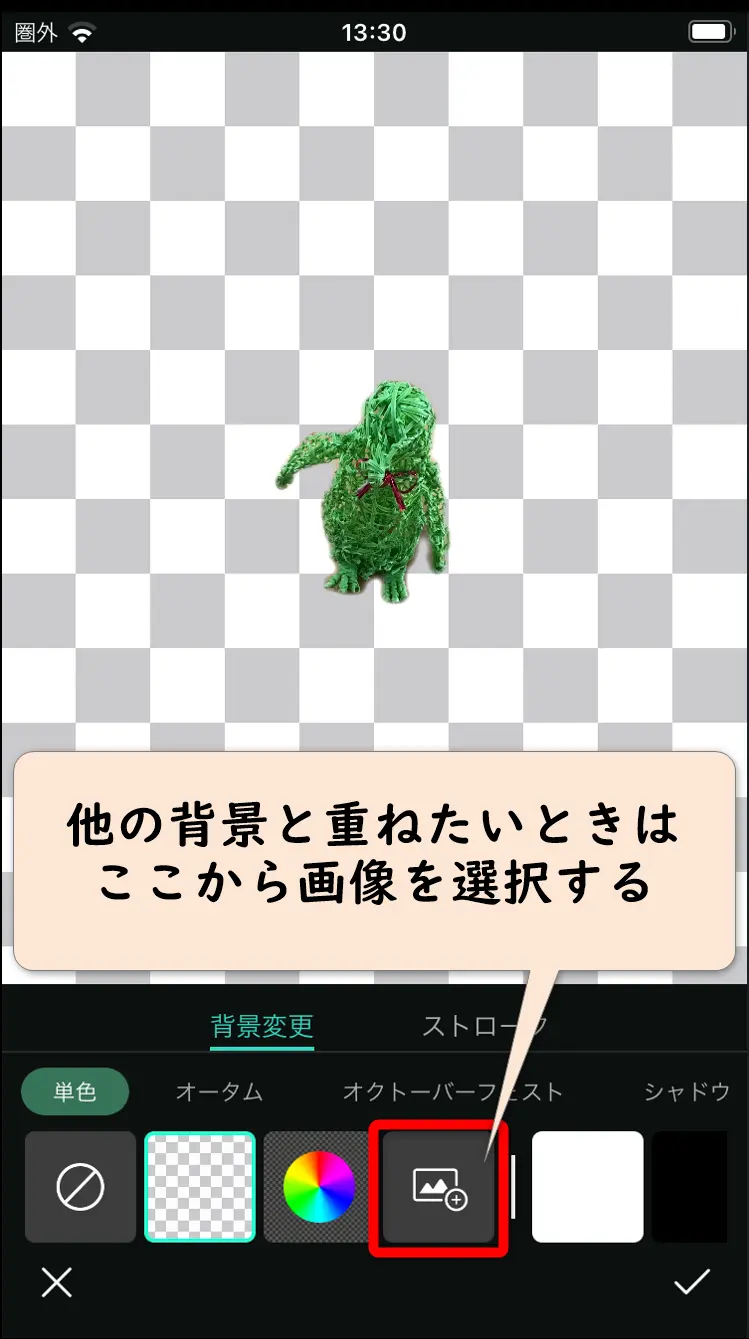
⇧他の背景に変えたいときは好きな画像を選びましょう。
背景色の変更も可能。
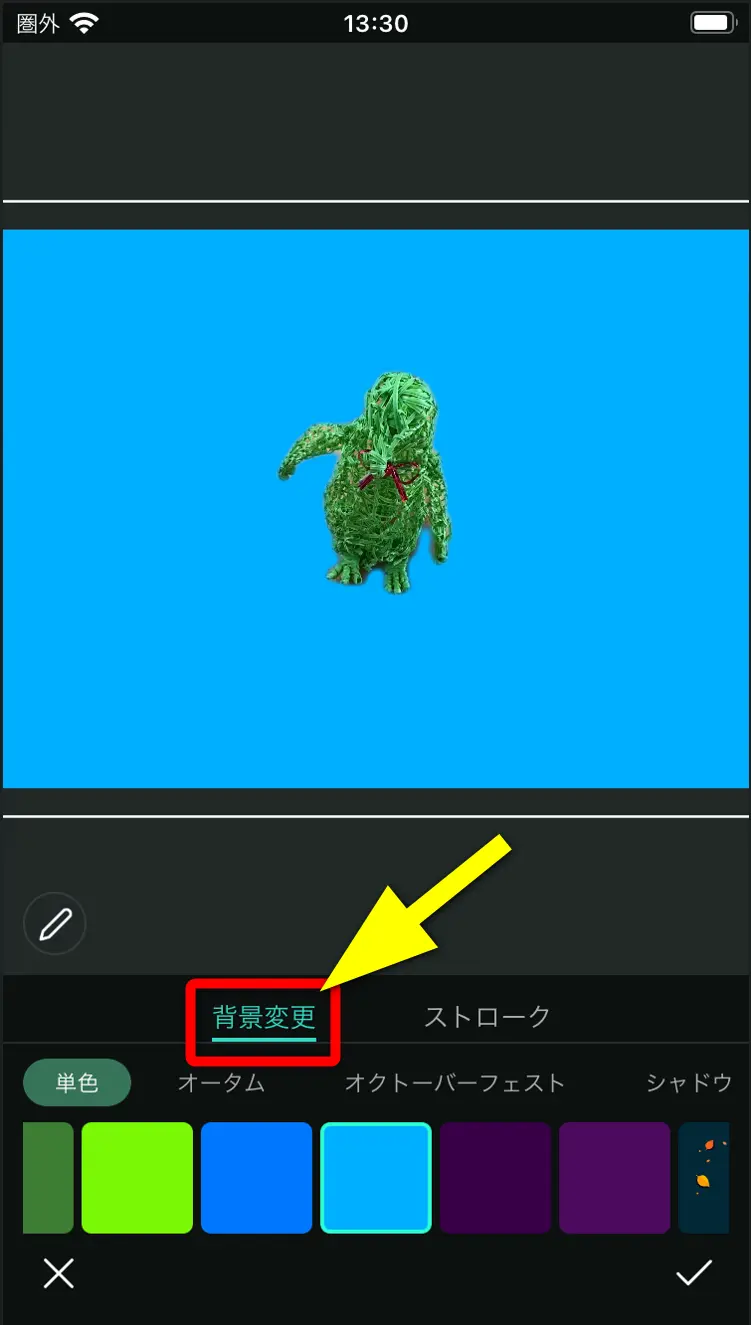
⇧背景の色も選択可能です。
書き出しも無料でできます。
PhotoDirectorは背景除去が簡単な画像編集ソフト
⇧出典:CyberLink
| 会社名 | CyberLink |
| 本社 | 台湾(新北市) |
| 創業 | 1996年 |
| 創設者 | Jau Huang |
| 日本支社 | 東京都港区芝大門1-16-3 |
| システム要件(Windows) | Microsoft Windows 11、10、8.1、7(64ビットOSのみ) |
| システム要件(Mac) | macOS 10.14 以降 |
| サポート 対応 | 電話 メール |
| 公式サイト | 公式で確認 |
買い切り版はWindowsのみ対応です。
Macで使うならサブスク版の購入が必須です。
ほとんどの画像形式に対応しています。
PhotoDirectorを提供しているCyberLinkは台湾のメーカーです。
CyberLinkは1996年に設立され、主にマルチメディア関連ソフトウエアの開発を手がけてきました。
PhotoDirectorの他にも
- PowerDirector(動画編集ソフト)
- PowerDVD(動画再生ソフト)
- Power2Go(DVD・ブルーレイ書き込みソフト)
などのソフトも有名です。
このように、CyberLinkは歴史あるソフトウェアメーカーなので安心して利用できます。
背景除去も簡単ステップでできるので素晴らしいソフトです。
PhotoDirectorでの背景除去は簡単
以上、PhotoDirectorで背景除去する方法について解説しました。
再度確認です。
- PhotoDirectorの背景除去機能を使えば背景を透明にできる
- 透明だけでなく白色や他の色にも変更可能
- スマホ版PhotoDirectorでは無料で背景除去が可能
早速CyberLinkのPhotoDirectorで背景除去して素敵な画像を完成させましょう。
⇩YouTubeサムネイルの作り方を例にPhotoDirectorの使い方を解説しています。
1,000人中983人の方に「公式サイトより分かりやすい」と高評価をいただいています。
ぜひご活用ください。
\よかったらシェアしてね/
